Shooting with film
My first camera was a film camera. Not being pretentious, just old 😂
I don’t remember exactly where it came from, but I am sure it was a hand-me-down from my dad. There is an adage that you drive the same brand of car that your father drove, and while we both had Renaults and Mitsubishis, I feel like you take photos with the same brand of camera that your parents had is much more appropriate for me.
 Olympus Trip 35

An Olympus Trip 35 - point and shoot film camera with a 40mm (the correct focal length) f2.8 lens. It uses a built in selenium light meter that requires no external power. You can either select an aperture between 2.8 and 22, or even select ‘A’ for automatic and the camera will select a shutter speed of 1/40 or 1/200. If there isn’t enough light for the camera to take a photo a little red flag pops up in the viewfinder to let you know there wasn’t enough light.
Olympus Trip 35

An Olympus Trip 35 - point and shoot film camera with a 40mm (the correct focal length) f2.8 lens. It uses a built in selenium light meter that requires no external power. You can either select an aperture between 2.8 and 22, or even select ‘A’ for automatic and the camera will select a shutter speed of 1/40 or 1/200. If there isn’t enough light for the camera to take a photo a little red flag pops up in the viewfinder to let you know there wasn’t enough light.
Technology Connections has a fantastic video on how they work.
It uses a zone focus selector that goes from ‘portrait’ to ‘mountain’ - with hard stops 1, 1.5, 3 metres and infinity. The viewfinder doesn’t shift or change with focusing in anyway, there is just a little window letting you see an icon for the selected focus distance and aperture.
I have some memories of taking photos while on holidays with my family 30 years ago, but I am not sure where those photos are now.
My next camera after this was a silly little digital camera that only had volatile memory - ie, it would delete all the photos if the AAA batteries fell out, followed up a Palm Zire PDA, and then some Sony phones, and then I got into cameras and bought a Canon PowerShot G9 for an overseas trip.
Much time later … I now have my grandfather’s Olympus 35 RC. I’ve had it for a number of years now, but never used it.
 Olympus 35 RC
This is slightly smaller, but far more complex camera from Olympus. A true range finder with a 42mm (just 1mm off the perfect 43mm) f2.8 lens. It has an electronic light meter that uses a battery type that doesn’t exist any more, and while I tried with a modern battery and an adapter, I wasn’t sure it was working / metering correctly. Unlike the Trip 35 the shutter speed is selectable with a dial on top of the camera. Because I am not great at metering things by eye I had purchased a TTArtisan light meter that clips into the hot shoe.
 TTArtisan Light Meter mounted on an Olympus 35 RC
A neat little meter that just has a couple of dials for aperture, shutter speed, and ISO. At the front are some LEDs that light up to show under or over exposure. A single green dot shows when exposure is set “correctly” - I don’t know if the shutter in the camera is still calibrated correctly, or if I just don’t know how to use the light meter correctly 🤣
With a low dynamic range scene it seemed to work well, otherwise it seemed to expose for the highlights, which is probably just me not understanding how it works.
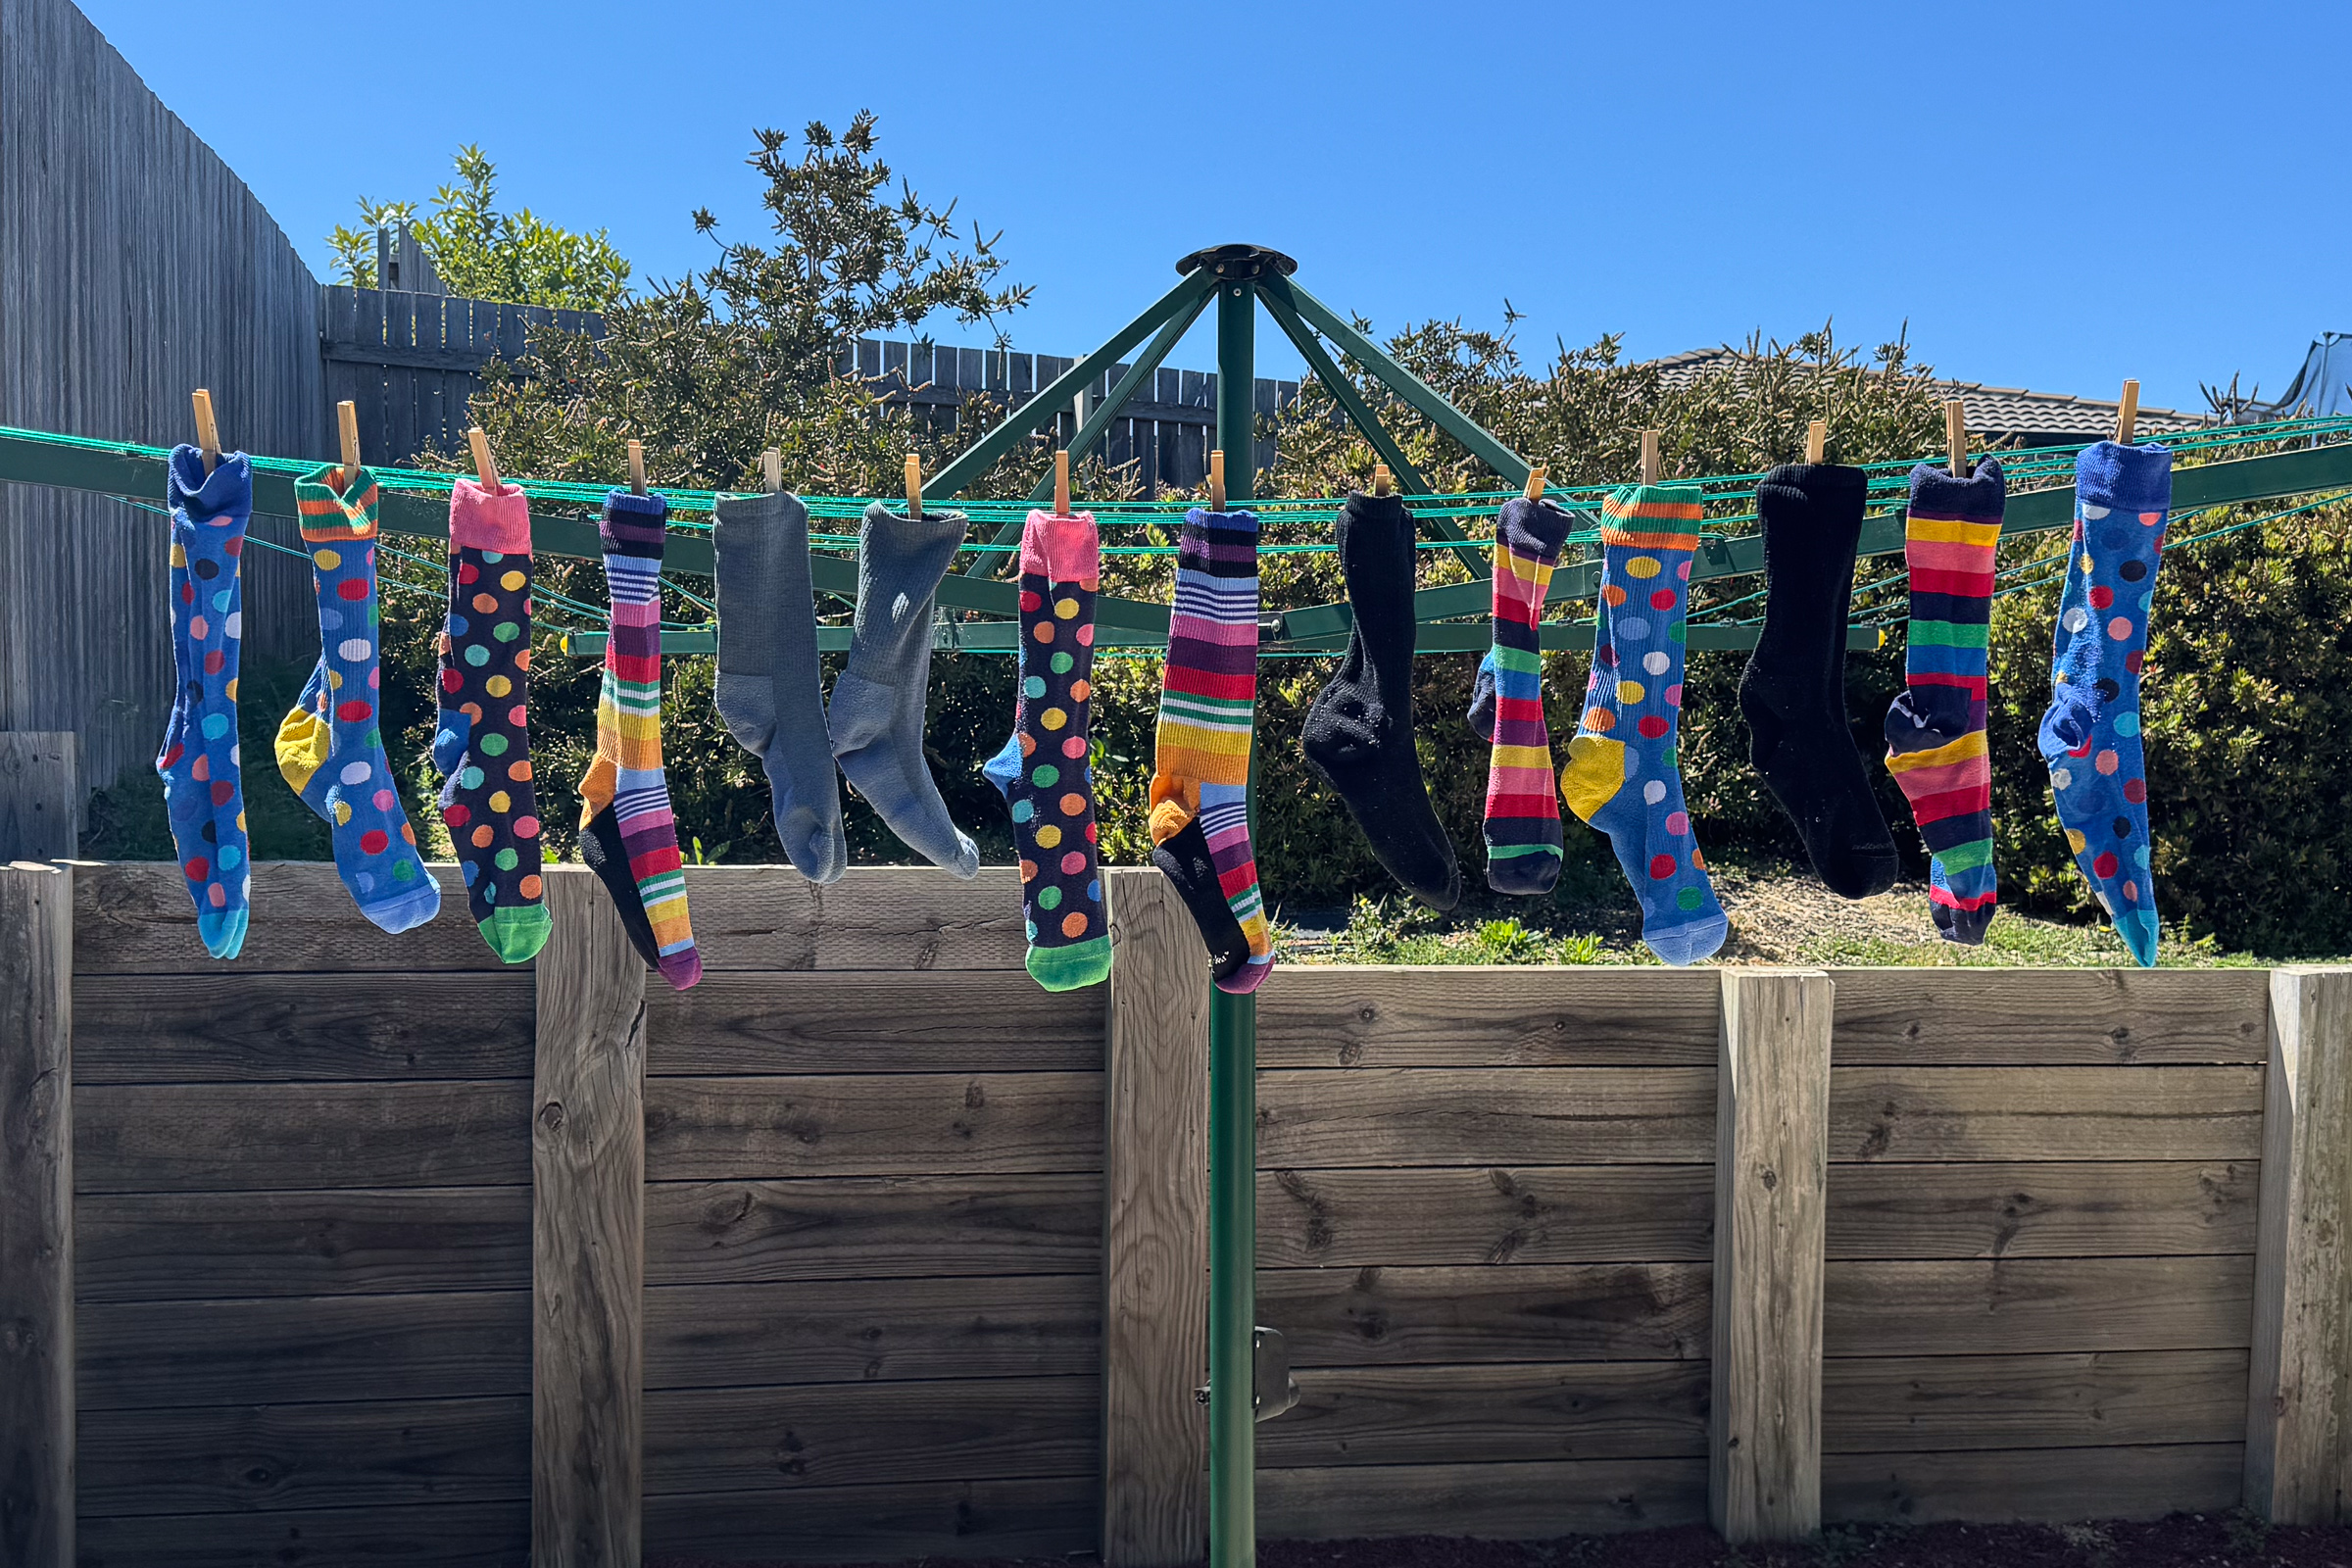
 Socks
Socks
Kodak Ektar 100 Olympus 35 RC / iPhone 15 Pro
Something people talk about with film is the colour, and Kodak Ektar can produce some lovely rich colours. The only edit to this was to straighten it - something I noticed with nearly all my photos was a bit of a slant, always up on the left 🫤
 Checking the exposure
It is maybe a little under exposed, the sky isn’t completely blown out, but I think we are all just conditioned to seeing photos from phones that are afraid of shadows and remove them at all cost, and then they’ll also bring down the highlights as well. Also, the phone really stuffed up on the white balance, far too cold and blue. (Adjusting that in post is a lot easier with digital images.)
Interlude
At this point of writing I had only seen the scans of the images the processing lab sent through. Big, high resolution scans, viewed on a high resolution display. Way larger than the 4x6 prints. But the doorbell just rang the postie handed me the package from the lab with the actual prints.
The softness and grain I was looking at in the TIF files on the screen were all gone. I am a big proponent of printing photos, they often get stuck inside phones and never seen anywhere else, but this isn’t the same. The prints look quite different to the scans. The prints look a lot nicer.
It didn’t help if I didn’t nail the focus, and it didn’t change the dynamic range or exposure, it also didn’t make boring scenes into interesting scenes, but I should have avoided looking at the scans entirely until the prints showed up.
Back to colours.
Driving home from Melbourne to Canberra in January I stopped outside Albury at 7 something in the morning. The sun was up by now and there were some white fluffy clouds.
 “Morning Sky”
 Morning Sky - edited slightly just to remove some grain from the sky, which is much truer to the actual print
 Morning Sky - taken with a Sony a6700 and a Sigma 30mm
Looking at the shot from the Sony I was surprised how similar the colour in the sky is. The film shot has much more pleasing yellows in the field. In the image from the Sony I can see more detail in the field and along the fence, but the texture in the field is not massively different.
The modified film image with some of the grain removed looks a lot closer to how the actual print came back from the film lab.
 Crossing the Yarra Rive
Back in November last year I had a short trip to Melbourne to see a show (live recording of No Such Thing as a Fish), and I took the requisite number of cameras, including the Olympus. During an early morning walk to the office I stopped for a couple of photos near the Yarra. I like how the vertical shot looking towards Flinders Street turned out.
 Crossing the Yarra River
It would have been nice if someone on a bike, or was walking past could have timed it perfectly with the train be between the two cars in the foreground of the second - that would have been a much more interesting photo.
 A train heading to Spencer Street
Back in Canberra during one of evening walks I decide to take the Olympus with me instead of something else. It was already too dark to try and spot any birds, so maybe the sunset would look nice.
I tried getting the exposure right with the light meter, and also with an app on my phone, and while the sky looks amazing, there is just no detail in the foreground at all.
 Cloudy Sunset - edited with a crop and some of the grain cleaned up a little.
Again here the print that came in the post has a lot less visible grain, though there is still some in the shadows and the clouds.
 Checking the settings.
Another evening I walked down to the filed again. The sky had some different colours in it in this night, and they came out nicely. Not an overly interesting photo by any stretch 😆
 Purple sky
This one I have edited a little more. The colour balance wasn’t touched, just the highlights have been pulled back and I was shocked at how much detail there was still there in TIF file. I know generally speaking it is ok to over expose film a little more than digital (except for slide film), and looking at the images I got back, I probably should have push the exposure a bit more. I also should have made better notes on my settings.
When I first started looking through the scans I was a little disappointed. A side from the socks, I knew I hadn’t gone out to take specific photos of specific things, and, while I liked the colours, the grain and enlarged view of scans didn’t look that nice at all.
Skip to a few days later and the prints are here, and they look so different to the scans.
I took about 6 months to shoot this one roll of film, and when I first saw the scans I wasn’t sure if I would shoot another. Taking a photo on film camera doesn’t make in an interesting image by default. It doesn’t elevate the image in any way. Not that most of my photos are in anyway interesting at the best of times.
 A gum tree at Mulligans Flat
The film is expensive, the processing is expensive. I have a Ricoh GR IIIx with a 40mm equivalent lens that is smaller and lighter than the Olympus 35 RC. That little Ricoh remains my favourite camera.
A film camera is never going to replace any of my digital cameras. But as a twice a year thing, taking 6 months to slowly work through a roll of film? Now I am wondering what some different film would look like, wondering if the Olympus Trip would be interesting to try out. I almost want some short 12 shot rolls of film, so I can put one in each - but still take 6 months to get through them.
I think I ended up enjoying the process quite a bit, even in the end results weren’t amazing.
 Bottle brush